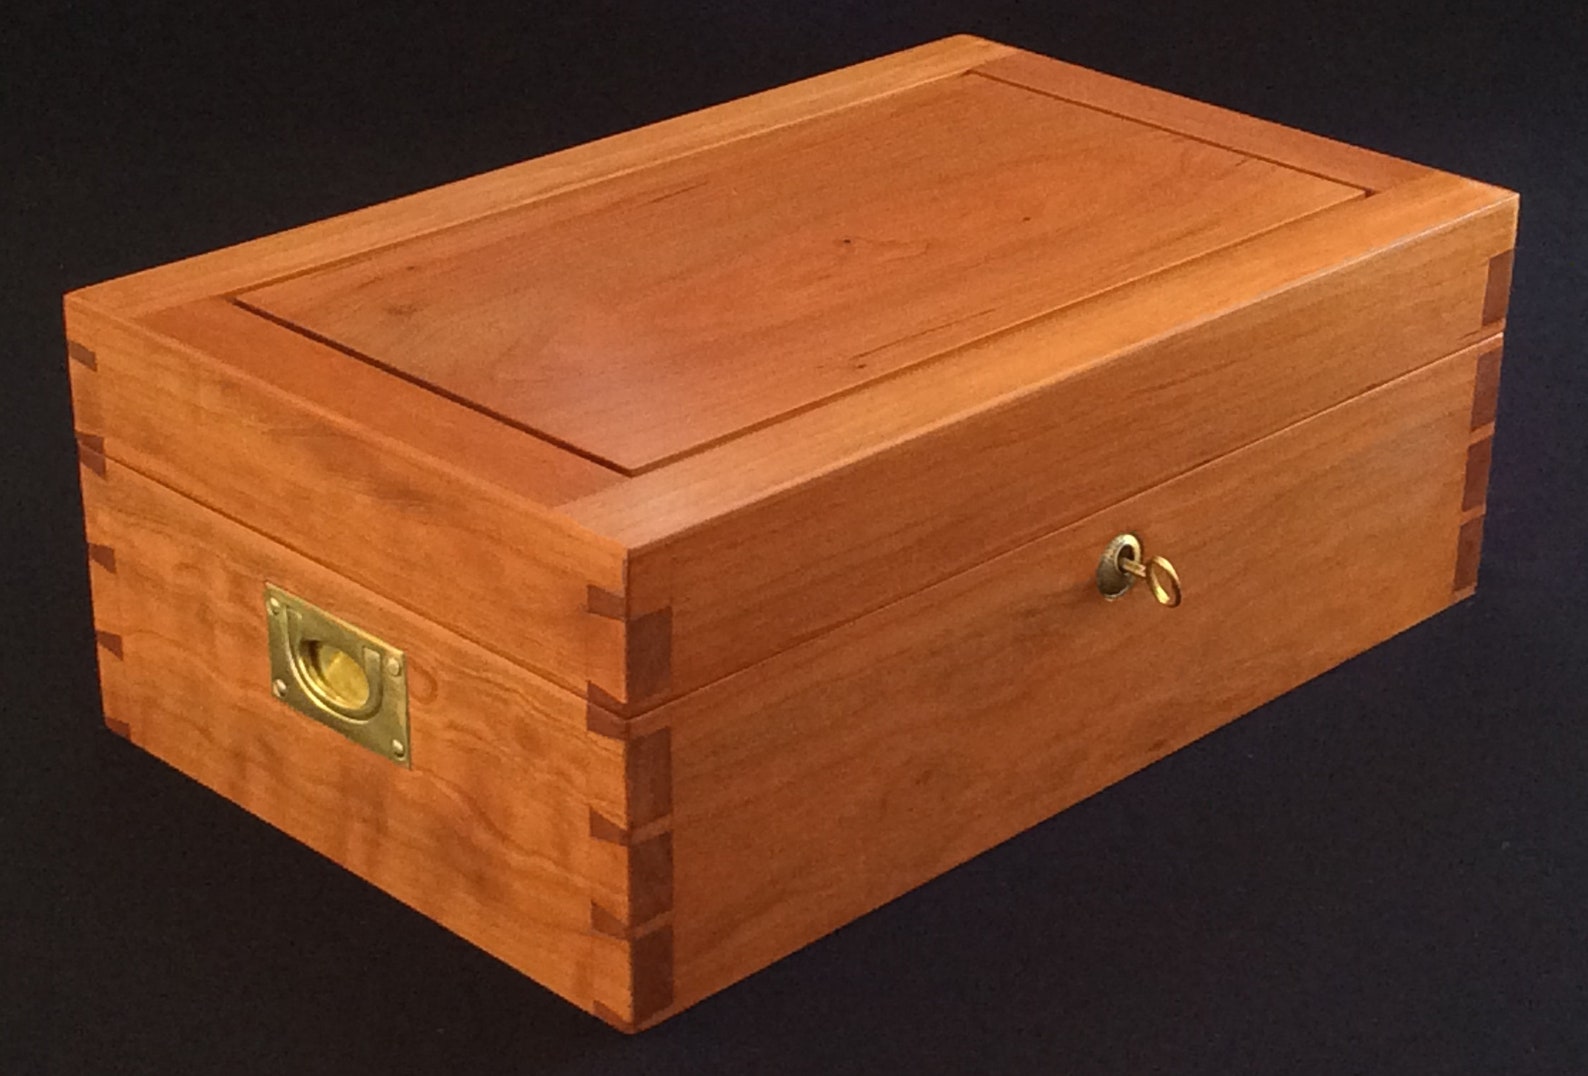

Making a wooden jewelry box is a thoughtful and rewarding project, perfect for gifting to someone special. Here's a step-by-step guide to creating your own:
Materials:
Wood: Choose a hardwood like walnut, cherry, or maple for durability and beauty. You can use pre-cut pieces or a board to cut to size.
Plywood: For the bottom and possibly the lid (depending on your design) - choose a thickness appropriate for your box size.
Wood glue: Use a quality wood glue for strong bonds.
Clamps: To hold the pieces together while the glue dries.
Sandpaper: Different grits for smoothing the wood (e.g., 80, 120, 220).
Wood finish: Choose a finish like varnish, oil, or stain for protection and desired look.
Hardware: Hinges, latch, and any decorative hardware (e.g., knobs, inlays).
Optional: Wood burning tool, carving tools, paints, stencils, and fabric for lining.
Tools:
Saw: Hand saw, jigsaw, or table saw for cutting wood.
Measuring tape and pencil: For marking and cutting wood.
Drill: For drilling holes for hardware.
Screwdriver: For attaching hardware.
Safety glasses and gloves: For personal safety.
Steps:
1. Design & Planning:
Determine the desired size and shape of the box. Sketch your design to visualize the dimensions and compartments.
Decide on the lid design - hinged or removable?
Consider adding compartments or dividers for different jewelry pieces.
Choose hardware that complements the wood and design.
2. Cutting the Wood:
Measure and mark the wood for the sides, bottom, and lid.
Use your saw to cut the pieces accurately.
If needed, use a chisel to clean up any rough edges.
3. Assembling the Box:
Glue the sides together, using clamps to hold them in place while the glue dries.
Glue the bottom to the sides, ensuring it's flush and even.
Glue the lid, if making a hinged lid, attaching hinges with screws.
For a removable lid, create a tongue-and-groove design for a secure fit.
4. Sanding:
Smooth all surfaces with sandpaper, starting with a coarser grit and gradually moving to finer grits.
Sand the edges and corners to create a smooth and rounded finish.
5. Adding Compartments:
If desired, create compartments using wood dividers or a separate piece of plywood.
Attach the dividers with glue or screws.
6. Finishing:
Apply your chosen wood finish following the manufacturer's instructions.
If using stain, choose a color that complements the wood.
If using varnish or oil, apply several thin coats for optimal protection.
7. Attaching Hardware:
Drill pilot holes for the hinges, latch, and any decorative hardware.
Attach the hardware securely using screws.
8. Personalization:
Decorate the box to make it unique.
You can:
Carve: Use a carving tool to create intricate designs or initials.
Burn: Use a wood burning tool to add patterns or text.
Paint: Apply decorative paints or stencils.
Line: Use fabric, velvet, or felt to line the inside of the box.
9. Final Touches:
Clean the box thoroughly to remove any dust or debris.
Ensure the hinges and latch function smoothly.
Enjoy your personalized wooden jewelry box!
Tips:
Practice on scrap wood: Get comfortable with your tools before cutting your final pieces.
Measure twice, cut once: Accuracy is essential for a well-crafted box.
Use clamps: Ensure strong bonds by clamping the pieces together while the glue dries.
Sand carefully: Sanding removes rough edges and helps create a smooth finish.
Choose the right finish: The chosen finish affects the appearance and protection of the wood.
Don't be afraid to experiment: Let your creativity shine in personalizing your jewelry box.
By following these steps, you can create a beautiful and personalized wooden jewelry box that will be treasured for years to come.
0 comments:
Post a Comment